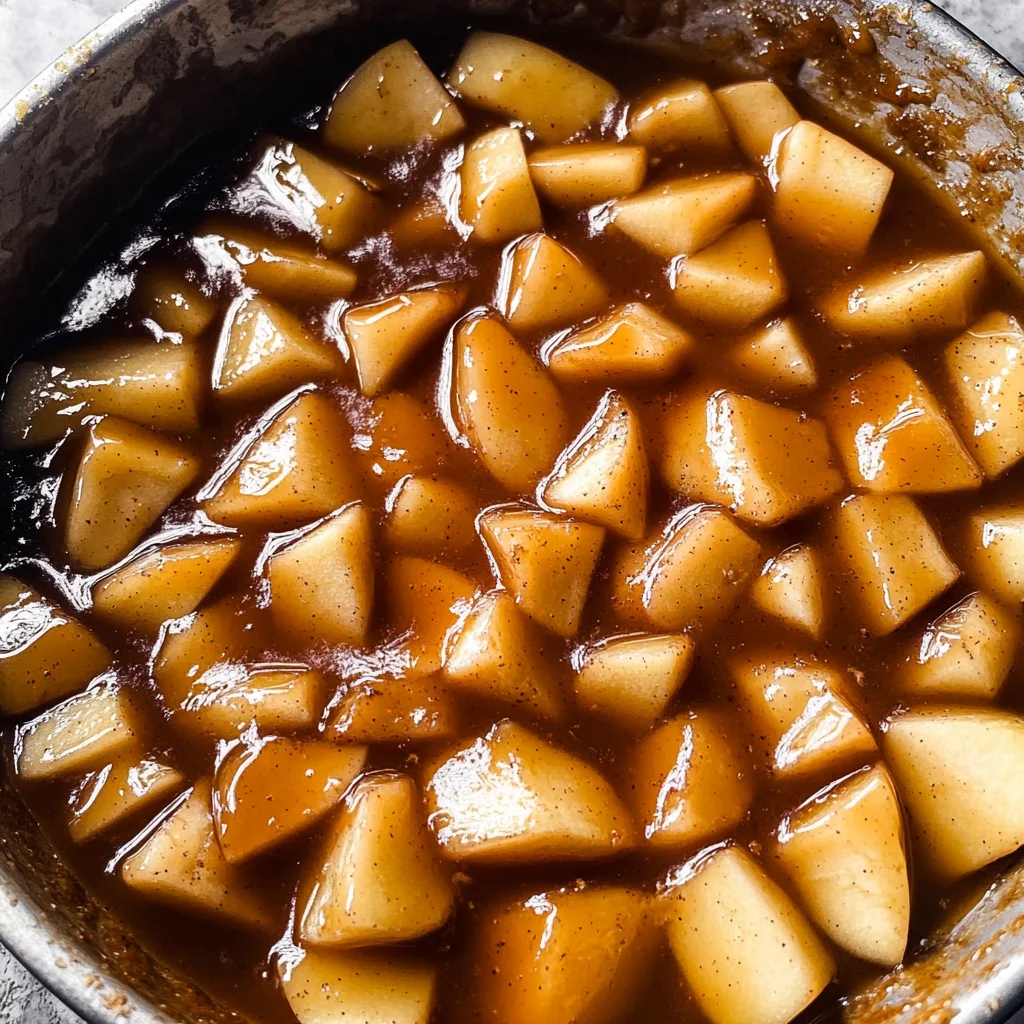
Homemade Apple Pie Filling
If you’re looking for the perfect homemade apple pie filling, you’ve come to the right place! This recipe is my go-to for all things apple, and it has a special place in my heart. There’s something magical about the aroma of apples, sugar, and spices wafting through the kitchen. Whether you’re baking on a busy weeknight or preparing for a family gathering, this Homemade Apple Pie Filling is just what you need to bring comfort and joy to your table.
This filling is not only delicious but also incredibly versatile! You can use it in traditional pies, as a topping for ice cream, or even in breakfast pastries. Once you make this recipe, you’ll understand why it’s a favorite among friends and family alike. Let’s dive into why you’ll love making this delightful filling!
Why You’ll Love This Recipe
- Quick and Easy: With just a few simple steps, you can whip up this amazing filling in no time.
- Family-Friendly: Everyone loves the warm flavors of cinnamon and apple! It’s sure to be a hit with kids and adults alike.
- Make-Ahead Convenience: You can prepare this filling ahead of time and store it for later use—perfect for meal prep!
- Deliciously Versatile: Use it in various desserts—think pies, tarts, or even topped over pancakes!
- Fresh Ingredients: Made with wholesome apples and natural sweeteners, this filling is as comforting as it is tasty.
Ingredients You’ll Need
Let’s gather our ingredients! This recipe calls for simple, wholesome items that you likely already have at home. Here’s what you’ll need to create your Homemade Apple Pie Filling:
For the Filling
- 9 cups fresh apples, peeled, cored, and chopped into uniform sizes
- 2 tablespoons lemon juice
- 3 cups white sugar
- 2 tablespoons brown sugar
- 1/2 cup cornstarch
- 1 teaspoon ground cinnamon
- 1/2 teaspoon ground nutmeg
- 1/2 teaspoon coarse sea salt
Variations
One of the best parts about this recipe is how adaptable it is! Feel free to get creative with these variations:
- Add More Spice: Boost the flavor by adding cloves or allspice for an extra kick.
- Go Nutty: Toss in some chopped walnuts or pecans to add a crunchy texture.
- Fruit Blend: Mix in other fruits like pears or berries for a unique twist on traditional apple filling.
- Less Sweet: Reduce the amount of sugar if you prefer a less sweet filling that allows the natural apple flavor to shine.
How to Make Homemade Apple Pie Filling
Step 1: Prepare the Apples
In a large bowl, toss your peeled, cored, and chopped 9 cups fresh apples with 2 tablespoons lemon juice. This step is crucial as it prevents the apples from browning. The lemon juice adds a nice tartness that complements the sweetness of the sugars.
Step 2: Create the Sauce
In a large Dutch oven or saucepan, stir together 3 cups white sugar, 2 tablespoons brown sugar, 1/2 cup cornstarch, 1 teaspoon ground cinnamon, 1/2 teaspoon ground nutmeg, and 1/2 teaspoon coarse sea salt. Then add 4 cups of water. Bringing this mixture to a low simmer creates that delicious sauce that will coat your apples beautifully.
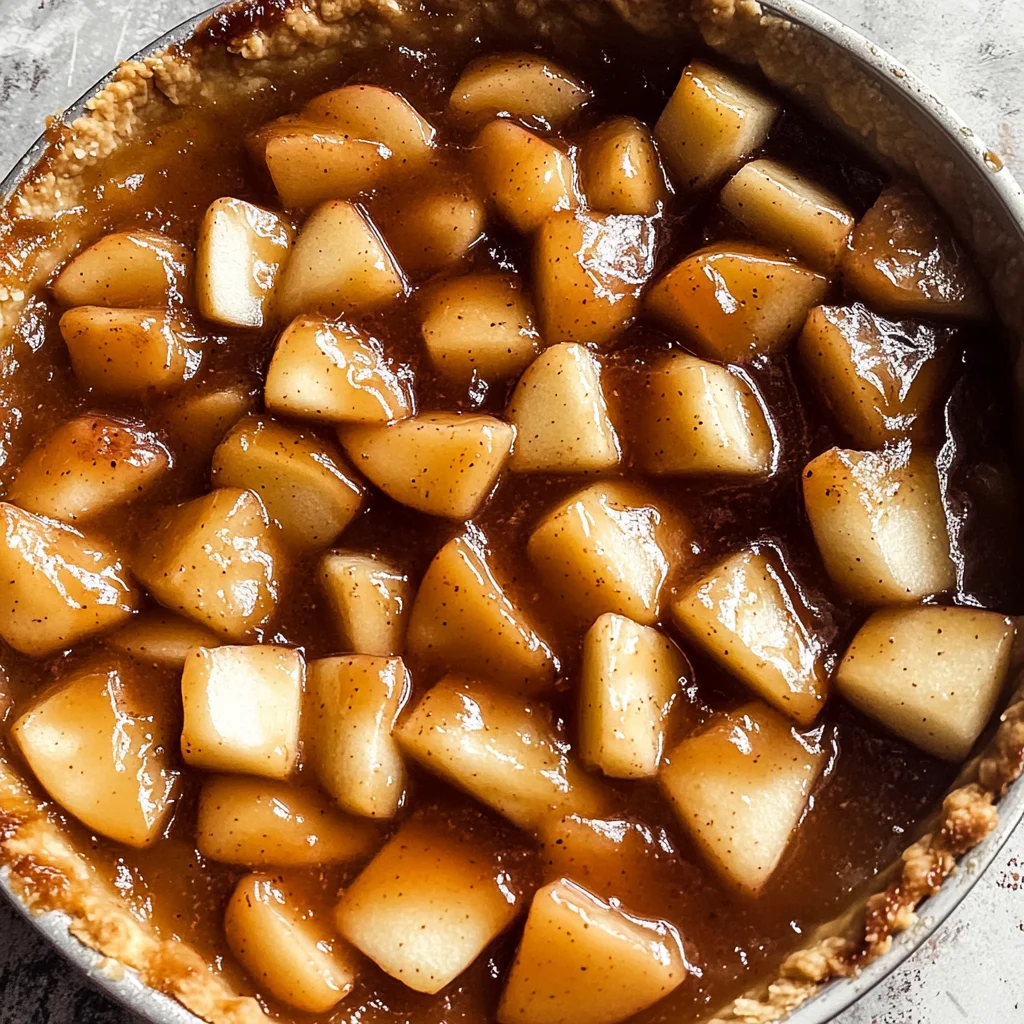
Step 3: Combine Apples with Sauce
Now it’s time to stir in those lovely apples! Cover the pot and cook for about 6-10 minutes. If your apple pieces are small, they will soften quicker—aim for that tender texture which allows them to pierce easily with a fork while ensuring your sauce thickens perfectly.
Step 4: Cool Down
Remove your pot from heat and allow your homemade apple pie filling to cool. Cooling is essential as it helps thicken further. You’ll want it at room temperature before using or storing.
Step 5: Store or Use
Once cooled, feel free to use immediately in your favorite recipes. Alternatively, you can can or freeze the filling for later enjoyment. This way, you’ll always have delicious homemade goodness on hand!
If you’ve tried this recipe, come back and let us know how it turned out in the comments! Enjoy creating delicious memories with this Homemade Apple Pie Filling!
Pro Tips for Making Homemade Apple Pie Filling
Making your own apple pie filling can be a delightful experience, and with these tips, you’ll ensure it turns out perfect every time!
-
Choose the right apples: Opt for a mix of sweet and tart apples, like Granny Smith and Honeycrisp. This combination enhances the flavor and provides a nice balance in your filling.
-
Don’t skip the lemon juice: The lemon juice not only prevents browning but also adds a bright flavor that complements the sweetness of the apples.
-
Cut apples uniformly: Ensuring your apple pieces are of similar size helps them cook evenly. This way, you’ll avoid some being mushy while others remain crunchy.
-
Adjust spices to taste: Feel free to tweak the ground cinnamon and nutmeg according to your preference. If you enjoy a spicier profile, consider adding a pinch of ginger or allspice.
-
Let it cool before using: Allowing your apple pie filling to cool helps thicken it further and makes it easier to work with, especially if you’re using it in a pie or other baked goods.
How to Serve Homemade Apple Pie Filling
There are countless delicious ways to enjoy your homemade apple pie filling! Whether as a standalone dessert or as an addition to your favorite recipes, here are some delightful serving ideas.
Garnishes
- Whipped coconut cream: A dollop of whipped coconut cream adds a creamy texture that perfectly complements the warm flavors of the apple filling.
- Chopped nuts: Sprinkle some chopped pecans or walnuts on top for an added crunch and extra layer of flavor.
- Cinnamon sugar: A light dusting of cinnamon sugar can elevate the dish with a sweet touch that brings out the spices in the filling.
Side Dishes
- Vanilla ice cream: A scoop of dairy-free vanilla ice cream balances the warm spices and creates a satisfying contrast in temperature.
- Oatmeal: Serve your apple pie filling over a bowl of oatmeal for a cozy breakfast option that’s both hearty and delicious.
- Pancakes: Use it as a topping for pancakes or waffles for an indulgent brunch treat that’s bursting with fall flavors.
- Yogurt parfaits: Layer the apple pie filling with dairy-free yogurt and granola for an easy and tasty snack or breakfast.
With these tips and serving suggestions, you’ll be ready to enjoy your homemade apple pie filling in various delightful ways! Don’t forget to share how you used it in the comments below!
Make Ahead and Storage
This Homemade Apple Pie Filling is perfect for meal prep! It allows you to have a delicious filling ready for your favorite desserts whenever the craving strikes. Here’s how to store, freeze, and reheat it for optimal enjoyment.
Storing Leftovers
- Store any leftover apple pie filling in an airtight container in the refrigerator.
- It can last up to 1 week in the fridge.
- Make sure to let it cool completely before sealing the container to avoid condensation.
Freezing
- To freeze, let the apple pie filling cool completely.
- Transfer it into freezer-safe bags or containers, removing as much air as possible.
- Label with the date so you can keep track of freshness; it can be frozen for up to 6 months.
Reheating
- Thaw overnight in the refrigerator if frozen.
- To reheat, place in a saucepan over low heat, stirring occasionally until warmed through.
- You can also microwave it in short intervals (30 seconds at a time) until hot.
FAQs
Here are some common questions you might have about making this delightful Homemade Apple Pie Filling!
Can I use other types of apples for my Homemade Apple Pie Filling?
Absolutely! While Granny Smith apples are popular for their tartness, you can mix different varieties like Honeycrisp or Fuji for added flavor and sweetness. Just be sure they are firm and suitable for baking.
How long will my Homemade Apple Pie Filling last in the freezer?
Your Homemade Apple Pie Filling can last up to 6 months in the freezer if stored properly. Just remember to label your containers with the date!
Is there a way to make this filling less sweet?
Yes! You can reduce both the white sugar and brown sugar according to your taste preferences. Start by cutting each by half and adjust from there based on your apple variety’s sweetness.
Can I use this filling in other desserts besides pie?
Definitely! This versatile filling works beautifully in tarts, crumbles, or even as a topping for pancakes and waffles. The possibilities are endless!
Final Thoughts
I hope you find joy in making this Homemade Apple Pie Filling just as much as I do! It’s not only delicious but also a wonderful way to fill your home with that comforting aroma of baked apples and spices. Whether you’re preparing it ahead of time or using it right away, I’m sure you’ll love how easy it is to whip up. Enjoy every bite and happy baking!
Homemade Apple Pie Filling

Enjoy making homemade apple pie filling with fresh ingredients! Perfect for pies, crumbles, and more—try this easy recipe today!
- Prep Time: 15 minutes
- Cook Time: 10 minutes
- Total Time: 25 minutes
- Yield: About six servings (720g total) 1x
- Category: Dessert
- Method: Baking
- Cuisine: American
Ingredients
- 9 cups fresh apples, peeled, cored, and chopped
- 2 tablespoons lemon juice
- 3 cups white sugar
- 2 tablespoons brown sugar
- 1/2 cup cornstarch
- 1 teaspoon ground cinnamon
- 1/2 teaspoon ground nutmeg
- 1/2 teaspoon coarse sea salt
Instructions
- In a large bowl, mix chopped apples with lemon juice to prevent browning.
- In a Dutch oven, combine white sugar, brown sugar, cornstarch, cinnamon, nutmeg, sea salt, and 4 cups of water. Bring to a low simmer.
- Stir in the apples and cover the pot. Cook for 6-10 minutes until apples are tender.
- Remove from heat and let cool before using or storing.
Nutrition
- Serving Size: 120g
- Calories: 190
- Sugar: 37g
- Sodium: 30mg
- Fat: 0g
- Saturated Fat: 0g
- Unsaturated Fat: 0g
- Trans Fat: 0g
- Carbohydrates: 48g
- Fiber: 3g
- Protein: <1g
- Cholesterol: 0mg