Easy Homemade Pie Crust
If you’re looking for a way to elevate your baking game, this Easy Homemade Pie Crust is just the ticket! There’s something so delightful about making pie from scratch, and it really shines when you use this simple recipe. Whether you’re whipping up a comforting apple pie for a family gathering or a rich pumpkin pie for the holidays, this crust will be the perfect base. You’ll find it’s easy enough for busy weeknights yet special enough for those cherished family celebrations.
This recipe has been a favorite in my kitchen for years. It’s not just about the taste—it’s about the memories made while rolling out dough and filling pies with love. So grab your apron, and let’s get started on making your pies better than ever!
Why You’ll Love This Recipe
- Quick and Easy: With just a handful of ingredients, you’ll have a delicious pie crust ready to go in no time.
- Perfectly Flaky: This crust bakes up beautifully, giving you that coveted flaky texture that everyone loves.
- Make Ahead: You can prepare the dough ahead of time and store it in the fridge or freezer until you’re ready to bake.
- Versatile: Use it for all types of pies—sweet or savory. The possibilities are endless!
Ingredients You’ll Need
Let’s keep things simple and wholesome with these ingredients! You probably have most of them in your pantry already.
For the Crust
- 2 1/2 cups all-purpose flour
- 1/2 teaspoon salt
- 3/4 cup cold unsalted butter (cubed)
- 1 teaspoon apple cider vinegar
- 1/2 cup ice-cold water
Variations
This Easy Homemade Pie Crust is wonderfully flexible, allowing you to customize it to fit your favorite flavors. Here are some fun variations:
- Add herbs: For a savory twist, mix in dried herbs like thyme or rosemary into the flour before adding the butter.
- Use whole wheat flour: Swap half or all of the all-purpose flour with whole wheat flour for a nuttier flavor.
- Spice it up: Add spices like cinnamon or nutmeg to sweeten your crust when making dessert pies!
- Try different fats: Experiment with coconut oil or vegan butter for a dairy-free option.
How to Make Easy Homemade Pie Crust
Step 1: Blend Dry Ingredients and Butter
In a large mixing bowl, combine the all-purpose flour and salt. This step is important as it ensures even distribution of salt throughout your dough. Next, add the cold cubed butter. Using pastry blenders or your fingers, blend until you have crumbs that resemble coarse sand. This creates those lovely flaky layers we all adore in pie crusts!
Step 2: Make Pastry
In a measuring jug, mix together the apple cider vinegar and ice-cold water. Slowly pour this mixture over your crumbly dry ingredients. Gently mix until everything comes together into a dough. Remember, don’t knead too much—overworking can lead to tough crusts! Once combined, push the dough into a ball, divide it into two disks, wrap them in foil, and chill them in the fridge for at least one hour.
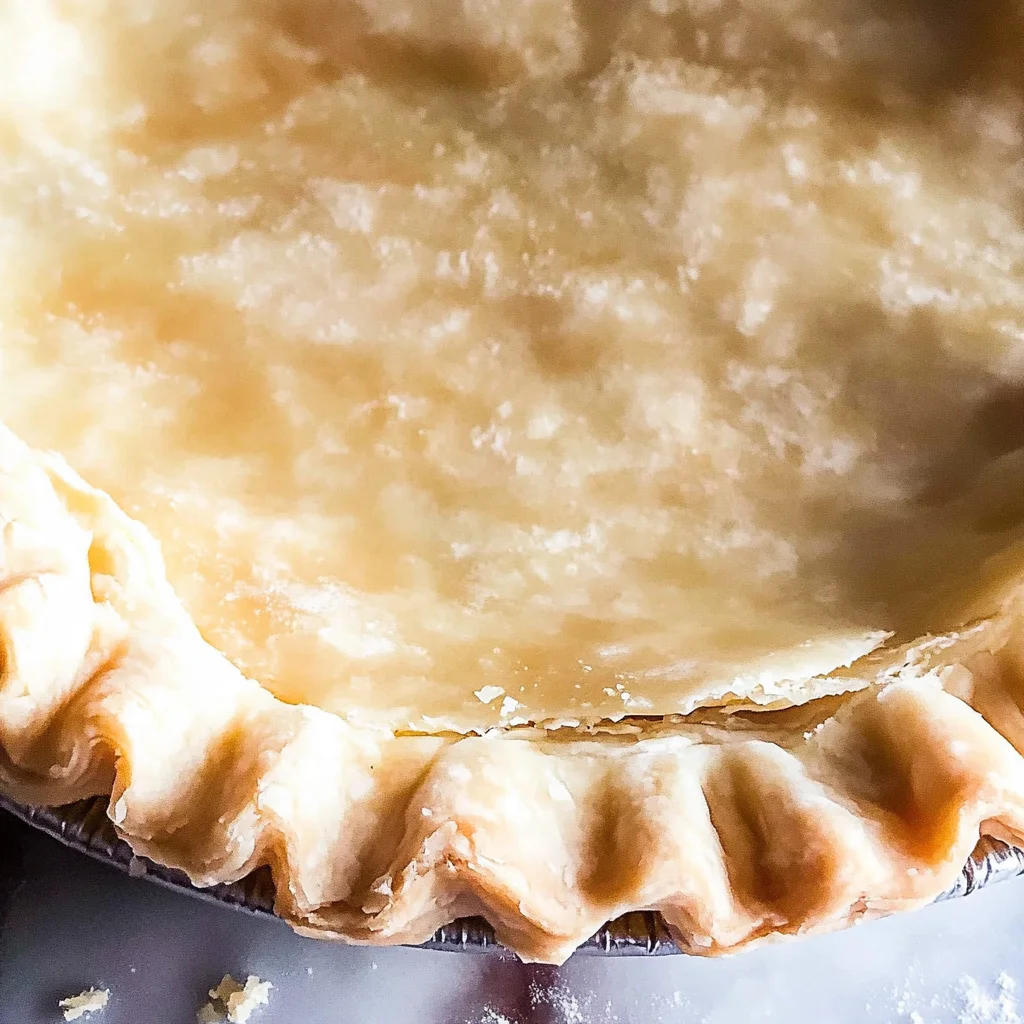
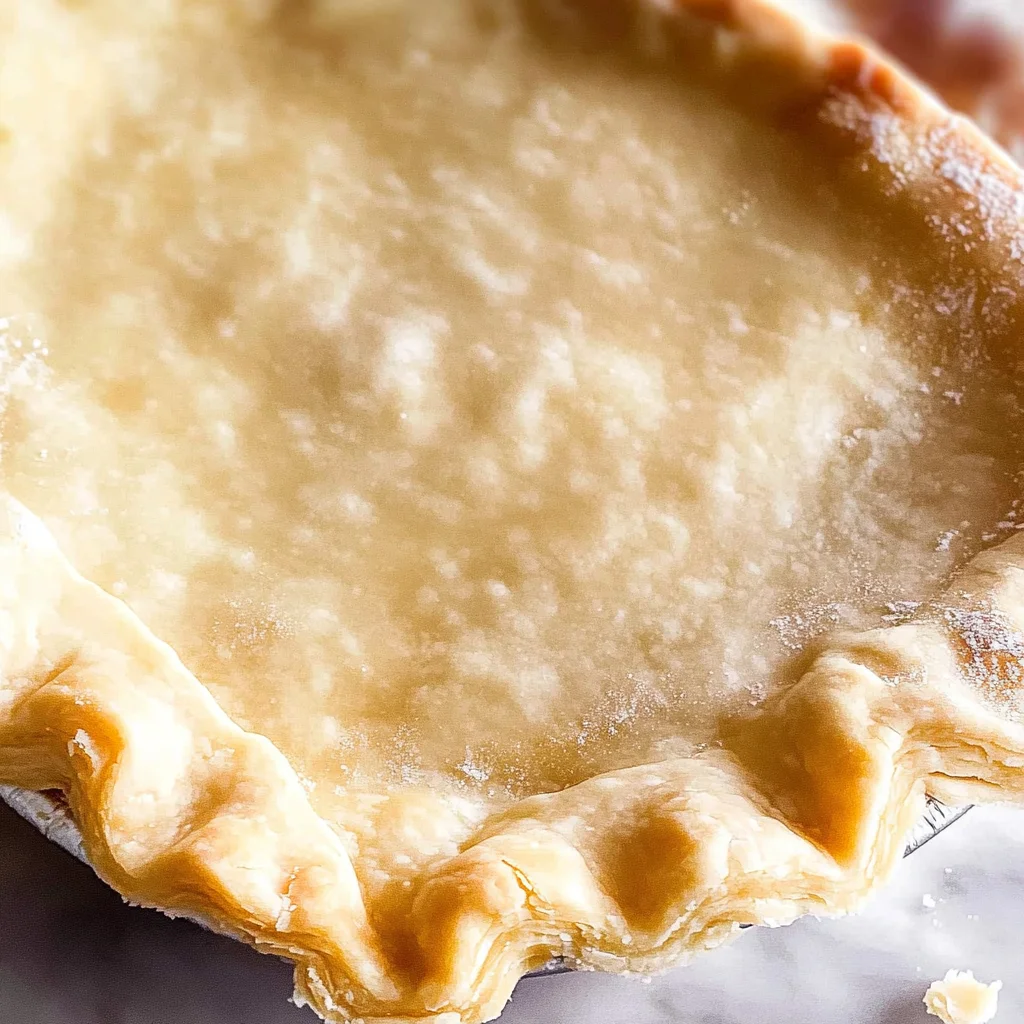
Step 3: Roll Out Crust
After chilling, take one disk of pastry and place it between two sheets of baking parchment. Roll it out into a circle that’s slightly larger than a 9-inch pie dish. This way, you’ll have enough dough to fit snugly into your dish without any gaps! Once rolled out, fit it gently into your greased pie dish and return it to the fridge to chill once more while you prepare your filling. If you’re making a double-crust pie, repeat this step for another disk as well.
Now you’re ready to fill this beautiful crust with your favorite pie filling! Enjoy every bite of your homemade creation!
Pro Tips for Making Easy Homemade Pie Crust
Creating the perfect pie crust can be a breeze with a few helpful hints! Here are some pro tips to ensure your easy homemade pie crust turns out beautifully every time.
-
Use cold ingredients: Keeping your butter and water cold is essential for a flaky crust. Cold ingredients help create steam during baking, which results in that delightful flakiness we all love.
-
Don’t overmix the dough: Once you add the wet ingredients to the dry, mix just until it comes together. Overworking the dough can lead to a tough crust instead of a tender one.
-
Chill your dough: Allowing the dough to chill in the refrigerator helps relax the gluten and keeps it from shrinking during baking. It also makes rolling out easier!
-
Roll evenly: When rolling out your dough, aim for an even thickness throughout. This will help ensure even baking and prevent any soggy spots.
-
Blind bake if needed: For custard or cream pies, consider blind baking (pre-baking) your pie crust before adding the filling. This prevents a soggy bottom and gives you a crispier base.
How to Serve Easy Homemade Pie Crust
Once you’ve mastered this easy homemade pie crust, it’s time to think about presentation! There are so many delicious ways to serve it that will impress your family and friends.
Garnishes
- Whipped coconut cream: A dollop of whipped coconut cream adds a light and fluffy touch that complements fruit pies perfectly.
- Fresh fruit: Slices of fresh fruit, such as strawberries or blueberries, not only look beautiful but also enhance flavor and freshness when serving.
Side Dishes
- Vanilla ice cream: A scoop of vanilla ice cream is a classic pairing with warm fruit pies. The creamy texture contrasts beautifully with the flaky crust.
- Fruit salad: A refreshing fruit salad can balance the sweetness of your pie while adding an extra burst of flavor.
- Cinnamon sugar dusting: Sprinkling some cinnamon sugar on top of your pie or serving it alongside can bring out warm flavors and add visual appeal.
- Coffee or tea: A warm cup of coffee or herbal tea creates a cozy atmosphere and pairs wonderfully with dessert after a hearty meal.
With these tips and serving suggestions, you’re all set to impress with your easy homemade pie crust! Happy baking!
Make Ahead and Storage
This easy homemade pie crust is perfect for meal prep! You can make it ahead of time and store it, making your baking process smoother and more efficient.
Storing Leftovers
- Wrap any leftover pie crust tightly in plastic wrap or aluminum foil.
- Store it in the refrigerator for up to 3 days.
- When you’re ready to use it, allow the crust to come to room temperature before rolling.
Freezing
- Divide unbaked pie crust into disks and wrap each disk tightly in plastic wrap.
- Place the wrapped disks in a zip-top freezer bag before freezing.
- It can be frozen for up to 3 months. To use, thaw in the refrigerator overnight before rolling out.
Reheating
- If you have a baked pie with this crust, reheat it in a preheated oven at 350°F (175°C) for about 15-20 minutes until warmed through.
- For best results, cover loosely with aluminum foil to prevent over-browning.
FAQs
Here are some common questions you might have about this easy homemade pie crust.
How do I make an easy homemade pie crust?
Making an easy homemade pie crust involves mixing flour, salt, butter, apple cider vinegar, and cold water. Follow the instructions carefully to achieve a flaky texture!
Can I use this easy homemade pie crust for savory pies?
Absolutely! This versatile easy homemade pie crust works well for both sweet and savory pies. Feel free to fill it with your favorite fillings!
What if my easy homemade pie crust is too crumbly?
If your dough seems too crumbly, try adding a little more ice-cold water—just one tablespoon at a time—until it holds together better.
How long can I store my easy homemade pie crust in the fridge?
You can store your easy homemade pie crust in the refrigerator for up to 3 days. Just wrap it well so it doesn’t dry out!
Final Thoughts
I hope you enjoy making this easy homemade pie crust as much as I do! It’s such a delightful recipe that brings warmth and joy to your kitchen. Whether you’re baking a classic apple pie or trying something new, this crust will elevate your dessert game. Happy baking, and I can’t wait for you to try it out!
Easy Homemade Pie Crust

Elevate your baking with this Easy Homemade Pie Crust that’s perfect for any occasion. Whether it’s a warm apple pie for family gatherings or a rich pumpkin pie during the holidays, this recipe provides a flaky and tender base to showcase your favorite fillings. With just a few simple ingredients and minimal effort, you can create a delightful crust that not only tastes amazing but also brings back fond memories of baking in the kitchen. Make it ahead of time and store it in the refrigerator or freezer for added convenience, ensuring you always have a delicious pie crust ready to go.
- Prep Time: 20 minutes
- Cook Time: Varies based on filling
- Total Time: 0 hours
- Yield: Approximately 8 servings 1x
- Category: Dessert
- Method: Baking
- Cuisine: N/A
Ingredients
- 2 1/2 cups all-purpose flour
- 1/2 teaspoon salt
- 3/4 cup cold unsalted butter (cubed)
- 1 teaspoon apple cider vinegar
- 1/2 cup ice-cold water
Instructions
- In a large bowl, mix the flour and salt. Add the cubed butter and blend until crumbly.
- In a measuring jug, combine apple cider vinegar and ice-cold water. Gradually add to the dry mixture until just combined.
- Form the dough into two disks, wrap in foil, and chill for at least one hour.
- Roll out one disk between parchment paper to fit a 9-inch pie dish, then refrigerate again while preparing your filling.
Nutrition
- Serving Size: 1 slice (70g)
- Calories: 240
- Sugar: 0g
- Sodium: 70mg
- Fat: 14g
- Saturated Fat: 9g
- Unsaturated Fat: 5g
- Trans Fat: 0g
- Carbohydrates: 29g
- Fiber: 1g
- Protein: 3g
- Cholesterol: 30mg